Power · 15 min read
How to Size an Off-Grid Solar System: The Complete Guide
Step-by-step from a real load audit to panel array, battery bank, charge controller and inverter — with the actual formulas and worked examples.
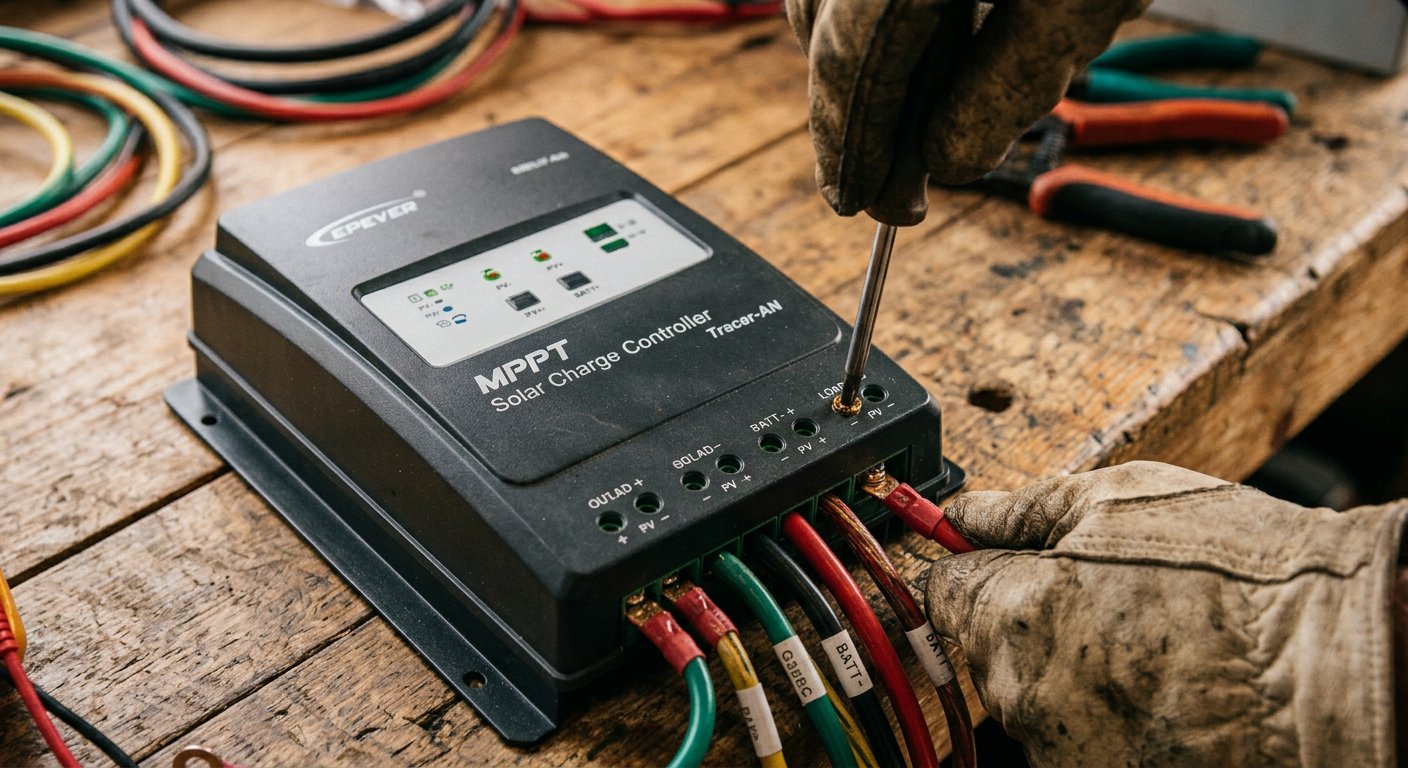
An off-grid solar system has exactly four sized components — panels, charge controller, battery bank and inverter. Get any one wrong and the whole system underperforms, dies young, or costs far more than it should. The good news: the math is not hard. This guide walks you through it, with the formulas and a worked example you can reproduce on the sizing calculator.
Step 1 — Know your load (the step everyone skips)
Everything is sized from your daily energy use in watt-hours (Wh). Don't guess it — measure it. List every device, multiply its wattage by hours of use per day, and total it. A plug-in watt meter will catch the surprises (a fridge that cycles more than you think, a "turned-off" TV still drawing phantom load).
⚠ The classic mistake
People size systems on optimism and then under-build by 50%. Measure for a full week, in your worst season, and add headroom.
Step 2 — Size the panel array
Panels must replace your daily energy use during your peak sun hours (not daylight hours — peak sun hours is the equivalent of full-sun hours per day, typically 3–6 depending on latitude and season). The formula:
Panel watts = daily Wh ÷ (peak sun hours × 0.75) × 1.25
- 0.75 is the real-world derate: panel temperature, tilt, wiring losses and controller inefficiency.
- 1.25 is a safety margin so a cloudy stretch doesn't leave you flat.
Step 3 — Size the battery bank
The battery stores energy for nights and cloudy days. Capacity is quoted in amp-hours (Ah) at a nominal voltage, but what you can actually use is limited by depth of discharge (DoD):
| Chemistry | Usable DoD | Notes |
|---|---|---|
| Lead-acid (flooded/AGM) | ~50% | Cheaper up front; deeper discharge kills it fast |
| LiFePO₄ (lithium) | ~85% | Higher cost, far longer cycle life, less affected by temperature |
Battery Ah = daily Wh × autonomy days ÷ (system volts × usable DoD × 0.9)
The 0.9 accounts for inverter and wiring losses. "Autonomy days" is how many sunless days you want covered — 2 is a common minimum, more if your climate has long cloudy stretches.
Step 4 — Size the charge controller and inverter
- Charge controller:
panel watts ÷ system volts × 1.25, rounded up to a standard rating (30/40/60/80/100 A). Use MPPT, not PWM, for anything above a few hundred watts — it recovers 10–30% more energy. - Inverter: sized to your largest simultaneous load × 1.25, plus surge headroom. Motors (fridges, pumps) draw 3–5× their running watts for a moment on start-up, so check the inverter's surge rating.
A worked example
A small cabin uses 1,800 Wh/day, in a location with 4 peak sun hours, on a 24 V system with lithium batteries and 2 days of autonomy:
- Panels: 1,800 ÷ (4 × 0.75) × 1.25 = 750 W (≈ 2 × 400 W panels).
- Battery: 1,800 × 2 ÷ (24 × 0.85 × 0.9) = 196 Ah (≈ 200 Ah at 24 V).
- Controller: 750 ÷ 24 × 1.25 = 39 A → a 40 A MPPT.
- Inverter: for a 1,500 W simultaneous load → ≈ 2,000 W continuous.
System voltage — 12, 24 or 48 V?
Higher voltage means lower current, thinner cables and less loss. A rough guide: 12 V for tiny weekend systems; 24 V for most cabins; 48 V for full-time homes and large arrays. Above roughly a 1,500 W array or 2,000 W inverter, stepping up from 12 V is strongly advised.
Safety & codes
Battery banks deliver lethal current and arc energy. Any mains-voltage work, battery banks above 48 V nominal, or grid interconnection must be done by a licensed electrician and may require permits. Follow your local electrical code and manufacturer instructions exactly.
Sources & further reading
- NREL PVWatts — location-specific solar resource (pvwatts.nrel.gov).
- Batteries for Off-Grid: chemistry & sizing
- Battery & runtime calculator
- Your national electrical code (e.g. AS/NZS 3000, NEC) for wiring and protection requirements.